
Swapping out a light switch or electrical outlet may seem intimidating, but with the right tools and a strong focus on safety, it’s a task many homeowners can complete themselves. However, electricity is no joke—if you’re unsure about what you’re doing at any point, don’t guess. Call a licensed electrician. Your safety comes first.
This guide will walk you through how to replace a light switch or outlet, one step at a time, while covering essential precautions to avoid injury or damage.
Safety First: Read This Before You Start
Before you touch a single wire, take these precautions seriously:
- Turn Off the Power: Go to your circuit breaker and switch off the power to the outlet or switch you’ll be working on.
- Test Before You Touch: Use a voltage tester to confirm the power is truly off. Never rely on flipping the switch alone.
- Use Insulated Tools: Protect yourself from electrical shock by using rubber-handled or insulated tools and wearing rubber-soled shoes.
- When in Doubt, Call a Pro: If anything looks unusual or doesn’t make sense, stop. Electricity is dangerous—better safe than sorry.
Tools and Materials You’ll Need
- Voltage tester
- Screwdrivers (flat-head and Phillips)
- Replacement switch or outlet
- Wire strippers
- Electrical tape
- Wire nuts
- Safety gloves (optional but recommended)
How to Replace a Light Switch
1. Turn Off the Power
Find the correct breaker on your circuit panel and shut it off. Confirm with a voltage tester that the power is off before proceeding.
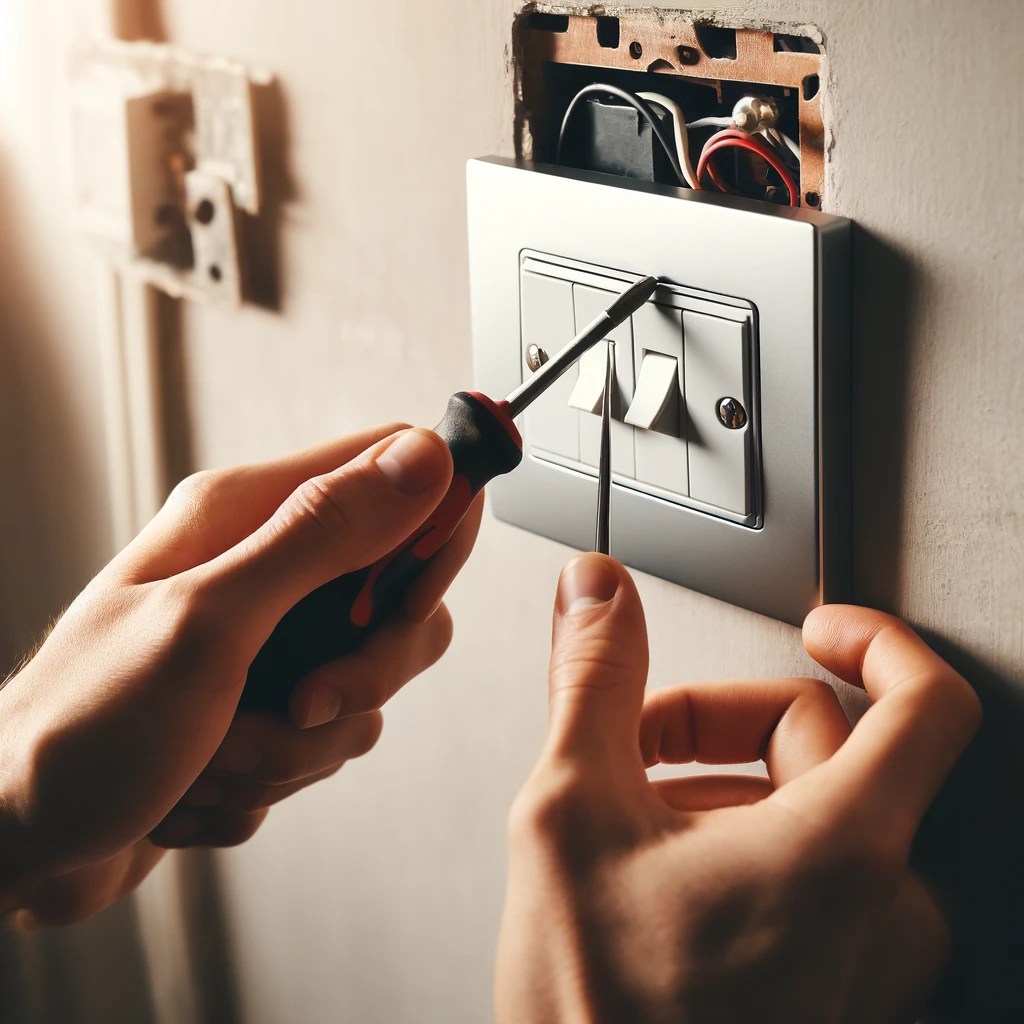
2. Remove the Old Switch
Take off the faceplate, unscrew the switch from the wall box, and gently pull it out. Double-check the wires are not live using your voltage tester.
3. Disconnect the Wires
Note how the wires are connected before removing them. You’ll typically see:
- Black (hot)
- White (neutral)
- Green or bare copper (ground)
Unscrew the terminals and carefully detach each wire.
4. Connect the New Switch
Attach the ground wire to the green grounding screw. Then connect the hot and neutral wires to their corresponding screws on the new switch. Tighten everything securely.
5. Reassemble and Test
Push the wires back into the wall, mount the new switch, and reinstall the faceplate. Turn the power back on and test your new switch to make sure it works properly.
How to Replace an Electrical Outlet
1. Turn Off the Power
As with the switch, shut off the power at the breaker and test the wires to confirm they’re not live.
2. Remove the Old Outlet
Unscrew and remove the faceplate. Then remove the mounting screws and gently pull the outlet out of the wall box. Use the voltage tester again to double-check there’s no power.
3. Disconnect the Wires
Most outlets have three connections:
- Black wire (hot) to the brass terminal
- White wire (neutral) to the silver terminal
- Green or bare wire (ground) to the green screw
Note the configuration, then unscrew and disconnect each wire.
4. Connect the New Outlet
Attach each wire to its correct terminal on the new outlet. Make sure each screw is tight to prevent future problems.
5. Reassemble and Test
Gently push the wiring back into the wall box, mount the outlet, and screw on the faceplate. Flip the breaker back on and test the outlet by plugging in a device or using a tester.
Final Reminder: Safety Over Everything
Replacing a light switch or outlet can be a satisfying DIY project—but only if done safely. Never work on a live circuit, always test before touching, and don’t force anything if you’re unsure. If something feels off or more complex than expected, contact a qualified electrician.
For more step-by-step guides on making sense of everyday home repairs, science, tech, and more—stick around. Our goal is to help you understand how things work, safely and clearly.

Leave a comment